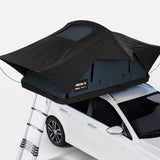
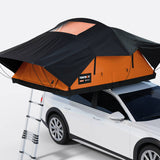
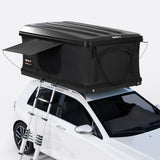
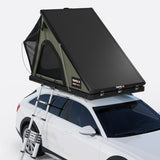
Lite 2.0/XL Thermal Kit installation guide
The Thermal Kit easily attaches to the inside of your TentBox, creating a warm and cosy sleeping area for year-round adventures.
For easy installation, please follow these instructions.

Step 1: Attach the clips
- Identify the six clips that attach the top of the Thermal Kit to the roof of your TentBox. There should be two for the back, two for the middle and two for the front.
- You’ll need to climb into your TentBox and start by attaching the furthest two clips into the top corners.
- Next, attach the middle clips onto the middle pole.
- Finally, clip the front corner clips into place. You might find it easier to exit the TentBox and reach in from the ladder for this step.
Step 2: Secure the fabric
- Once all clips are attached, unzip the window of the Thermal Kit and climb back inside the TentBox (if you're not already inside).
- Tuck the bottom edge of the fabric underneath the mattress for a snug fit.
Step 3: Remove when closing
- When closing the TentBox, we recommend removing the Thermal Kit so you don’t put unnecessary pressure on the hinge mechanism.

